
Hail Damage Roof Insurance Claim Steps to Take
- josuevalerdi
- Jul 17
- 6 min read
A hard spring or summer storm can leave your yard covered in hail while your roof looks perfectly normal from the ground. That is what makes a hail damage roof insurance claim stressful for many Iowa and Minnesota homeowners. Hail can bruise shingles, loosen protective granules, crack siding, and damage vents without creating an immediate leak.
The right next step is not guessing whether the damage is serious. It is getting a professional inspection, documenting the storm, and starting the claim process with clear information. Acting promptly helps protect your home and gives your insurance carrier the details needed to evaluate the loss.
What Hail Damage Can Do to Your Roof
Not every hailstorm creates a covered claim, and not every roof mark is hail damage. Insurers look for evidence that a recent storm caused functional damage to covered materials. The size of the hail, wind conditions, roof age, shingle type, and the condition of the roof before the storm can all affect the outcome.
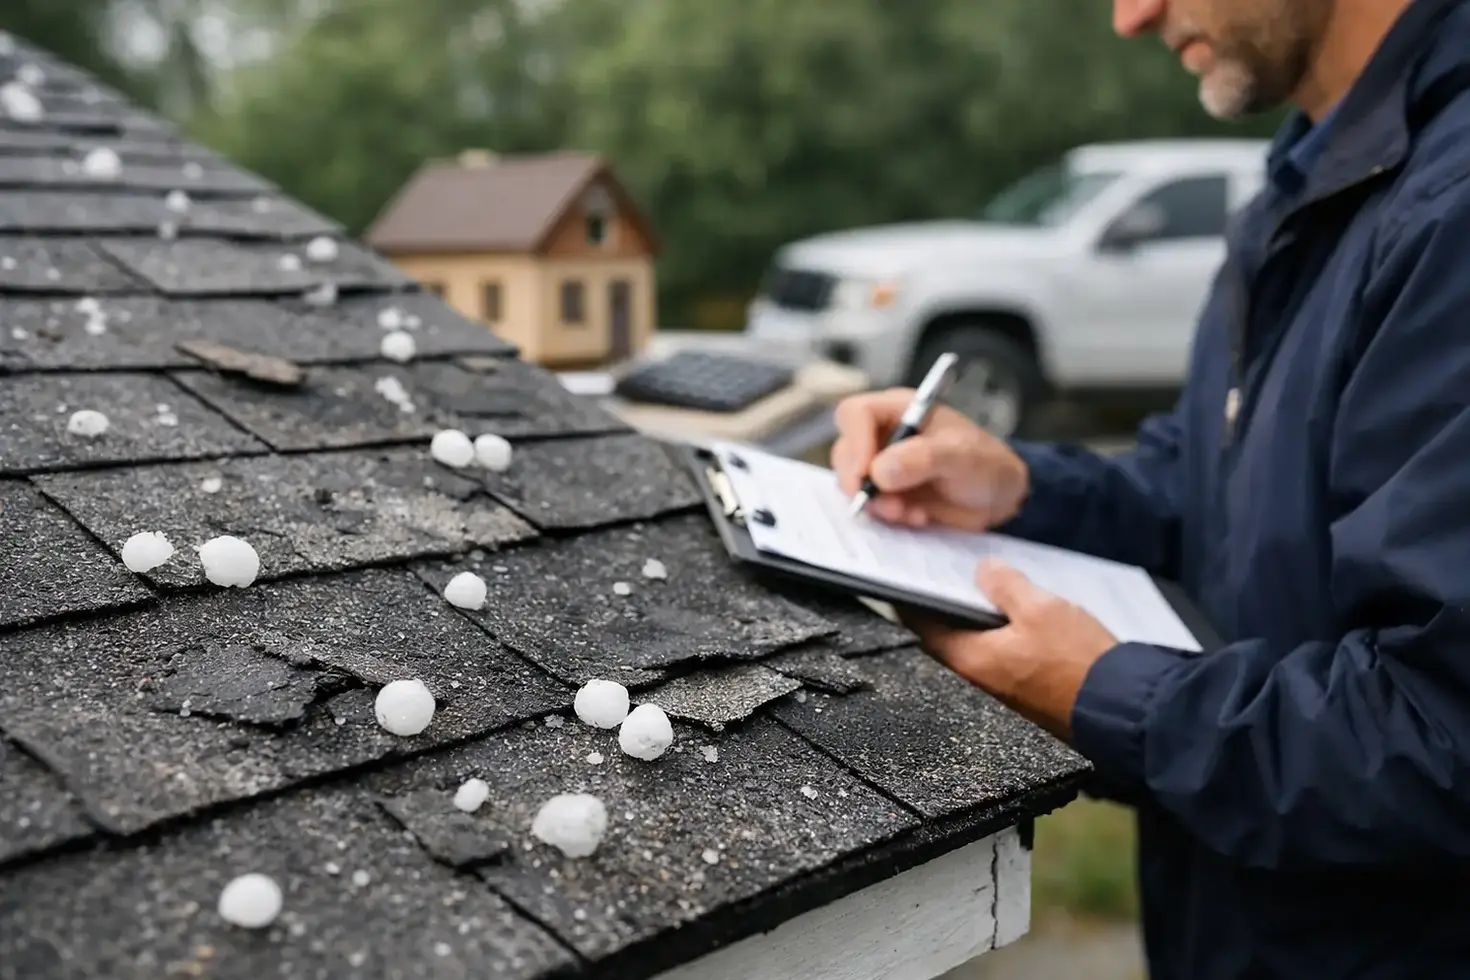
On asphalt shingles, hail impacts may knock away granules or leave soft, dark bruises where the shingle mat has been damaged. Granule loss matters because those granules protect the asphalt layer from ultraviolet exposure and weather. Over time, weakened shingles may crack, age faster, or become more vulnerable to leaks.
Damage can also appear on soft metal components. Dented gutters, downspouts, flashing, roof vents, window screens, air-conditioning fins, and metal trim can help establish that hail struck the property. Those dents do not automatically prove roof damage, but they are useful evidence when considered alongside a full roof inspection.
A roof can also have normal wear, blistering, mechanical scuffs, or manufacturing defects that resemble storm impacts. That is why a ground-level look or a few phone photos rarely tells the full story. A qualified roofing professional can identify storm-related damage and explain what was found in plain language.
Hail Damage Roof Insurance Claim Steps
A well-organized claim usually moves more smoothly than one started with incomplete information. You do not need to become a roofing or insurance expert. You do need to take timely, practical steps.
1. Put safety and temporary protection first
After a storm, stay off the roof. Wet shingles, steep slopes, loose debris, and hidden damage create real fall risks. If water is entering the home, move belongings away from the affected area, photograph the interior damage, and use reasonable temporary protection when it is safe to do so.
If emergency repairs are needed, keep all invoices and take before-and-after photos. Most policies require homeowners to prevent additional damage after a loss. Temporary protection is different from starting a full replacement before the insurer has inspected the property, so avoid major work unless it is necessary to stop active damage.
2. Record what you can see from the ground
Take dated photos of hailstones if they are still present, as well as damaged gutters, siding, screens, outdoor furniture, and other visible exterior items. Make a short note of the storm date, approximate time, and what you observed, including high winds or large hail.
Check for interior signs too. Water stains on ceilings, damp insulation, peeling paint near the attic, or active drips should be documented. A roof may have hail damage without leaking, but interior evidence can indicate that the storm created an urgent issue.
3. Review your policy before filing
Locate your homeowners policy and look for the deductible, coverage limits, exclusions, and deadline for reporting a loss. In Iowa and Minnesota, hail coverage is commonly included in standard homeowners policies, but policy language varies. Some policies use a percentage-based wind or hail deductible rather than a flat dollar amount.
Your settlement type also matters. Replacement cost value policies may pay the actual cash value first, then release recoverable depreciation after covered work is completed. Actual cash value policies may account for the age and condition of the roof from the start. Your insurer can explain your specific coverage and how your deductible applies.
4. Schedule a professional storm damage inspection
A thorough inspection helps you make an informed filing decision. Your roofer should inspect shingles, flashing, ridge caps, vents, gutters, siding, and other exterior components, then document any storm-related findings.
At Valerdi Roofing & Exteriors, we help homeowners understand the condition of their roof and exterior after severe weather. A professional inspection can give you clear documentation before you speak with your carrier, without pressure to file a claim for damage that is not present or does not justify a replacement.
5. File the claim promptly when damage is confirmed
If the inspection identifies likely hail damage, contact your insurance company and report the date of loss. Ask for a claim number, write down the adjuster’s contact information, and keep a record of every conversation. Be accurate and factual. Describe what happened, what you observed, and what has been documented.
Do not wait until the roof leaks. Claim deadlines can be shorter than homeowners expect, especially after a widespread storm. Filing promptly also makes it easier to connect the damage to a specific weather event.
6. Be present for the adjuster inspection when possible
Your insurance company will assign an adjuster to inspect the property or review the claim. It is often helpful to have your roofing contractor present during that appointment. The contractor can point out documented areas of concern, discuss the scope of visible damage, and help ensure the roof and related exterior components receive a complete review.
The adjuster works for the insurance carrier and makes the coverage decision. Your contractor can provide construction expertise, photos, measurements, and a repair or replacement estimate, but cannot change policy terms or guarantee claim approval. Clear communication at this stage can prevent avoidable scope gaps later.
What to Do If the Estimate Seems Too Low
An initial insurance estimate is not always the final word. Sometimes a roof’s full scope becomes clearer after materials are removed, or an estimate may omit components needed to complete the work properly. Examples can include code-required upgrades, flashing, ventilation materials, starter shingles, ice and water protection, or matching exterior items when applicable under the policy.
Review the estimate line by line with your contractor. Compare the listed materials, measurements, labor items, and roof components with the actual project requirements. If something appears to be missing, your contractor can prepare supporting documentation and submit a supplement request through the appropriate process.
A supplement is not a dispute for its own sake. It is a request for the insurer to consider documented work that is necessary to restore covered damage correctly. Approval depends on the policy, the evidence, local requirements, and the insurer’s review.
Common Mistakes That Can Complicate a Claim
The biggest mistake is waiting too long because the roof does not look damaged from the driveway. Hail damage can be subtle, and delayed claims may be harder to support. Another common issue is signing with a contractor before understanding the agreement, the scope of work, and your deductible responsibility.
Be cautious about anyone who promises a “free roof,” offers to cover or waive your deductible, or guarantees insurance approval. Homeowners are generally responsible for their deductible, and honest contractors will be clear about costs, materials, timelines, warranties, and what insurance has approved.
It also helps to avoid making repairs based only on a verbal conversation. Keep your claim number, inspection report, photos, estimates, insurer correspondence, and receipts in one place. Good records reduce confusion if your adjuster changes, the claim takes longer than expected, or additional documentation is needed.
Choosing a Roofing Contractor After Hail
The lowest bid is rarely the whole picture after a major storm. Your roof is a protective system, not simply a layer of shingles. Proper installation includes correct flashing, ventilation, underlayment, drainage details, and cleanup, along with materials suited to Iowa and Minnesota weather.
Choose a licensed and insured contractor with local experience, clear written estimates, strong workmanship standards, and a process for insurance-supported restoration. Ask who will manage communication, whether the contractor will attend the adjuster appointment, what warranty applies, and how unexpected conditions will be handled.
A dependable contractor should make the process easier, not add pressure. You deserve direct answers, documented findings, and a finished exterior that protects what matters most - your home.
If hail recently hit your neighborhood, a professional inspection is a practical first move. You may learn that your roof is in good shape, or you may catch hidden damage while there is still time to address it with confidence.


Comments